Session View
The Session View is a grid-based clip launcher for real-time performance and idea sketching. Switch to it by clicking Live in the footer bar.
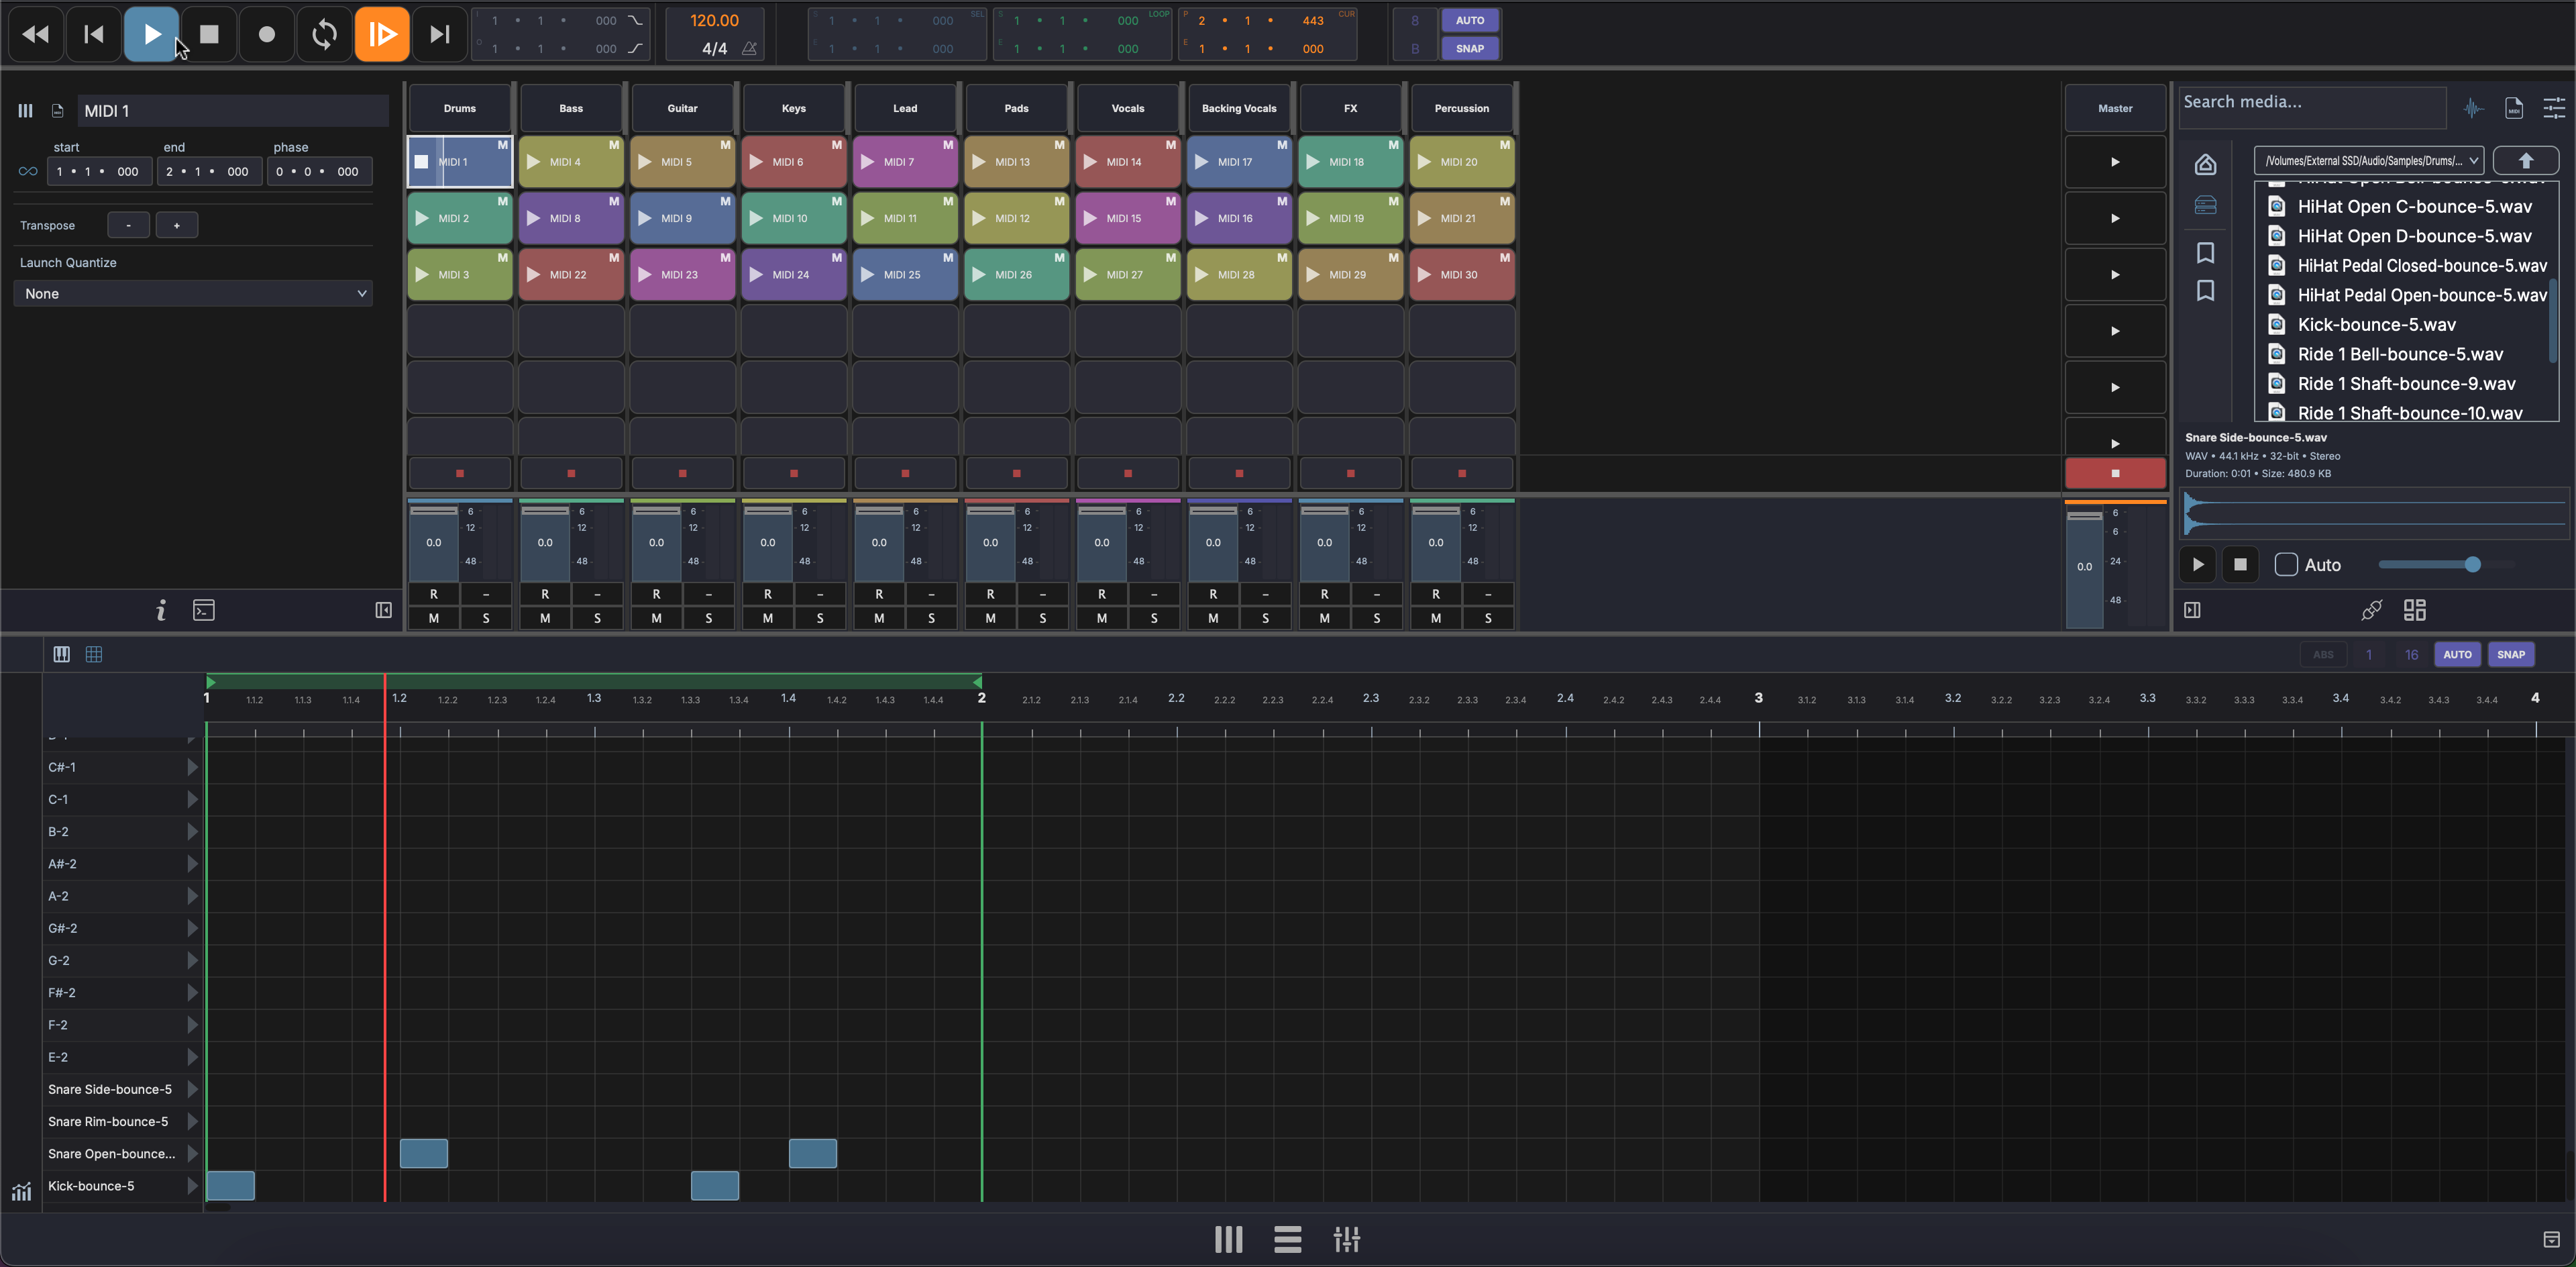
Layout
The Session View is organized as a grid:
- Columns represent tracks
- Rows represent scenes
- Each cell is a clip slot that can hold an audio or MIDI clip
 Track 1    Track 2    Track 3   │ Scene
┌──────────┬──────────┬──────────┼────────┐
│ Clip A   │          │ Clip D   │ ► 1    │
├──────────┼──────────┼──────────┼────────┤
│          │ Clip B   │ Clip E   │ ► 2    │
├──────────┼──────────┼──────────┼────────┤
│ Clip C   │          │          │ ► 3    │
├──────────┼──────────┼──────────┼────────┤
│ Fader    │ Fader    │ Fader    │ ■ Stop │
└──────────┴──────────┴──────────┴────────┘
- Track headers run across the top — click to select a track
- Scene launch buttons on the right trigger all clips in a row simultaneously
- Stop All button (■) stops all playing clips
- Mini mixer fader row at the bottom provides quick mixing controls
Clip Slots
Each cell in the grid is a clip slot. A slot can be empty or contain a clip.
- Click an occupied slot to trigger (play) the clip
- Click a playing slot to stop it
- Only one clip per track plays at a time — triggering a new clip in the same column stops the previous one
- A clip slot has an explicit play ▶ and stop ■ control on hover for unambiguous launch / stop separate from the clip body click
- While recording into a slot, the clip previews in real time — incoming MIDI notes and captured audio peaks draw in the slot as the take happens
Selecting Clips
- Click a clip slot to select it
- Shift-click another slot to extend the selection to a rectangular range
- Cmd-click (Ctrl-click on Windows/Linux) to toggle individual slots in or out of the selection
- Right-click a multi-selection to delete, duplicate, or change properties on every selected clip in one action
Launch Fade
Each session clip has an optional launch fade — a per-clip crossfade applied when the clip launches over the clip it replaces on the same track. Set the fade length in the clip's Inspector under the launch section. Useful for pad and atmosphere clips where the hard cut between launches is jarring.
Scenes
A scene is a horizontal row across all tracks. Launching a scene triggers all clips in that row simultaneously, which is useful for transitioning between song sections during a live performance.
- Click the scene launch button (►) on the right side to launch a scene
- Use the Stop All button (■) to stop all playing clips at once
Mini Mixer
At the bottom of the Session View, each track has a mini channel strip for quick mixing without leaving the clip launcher.
Each mini channel strip provides:
- Volume fader — Adjust track level
- Pan knob — Position in the stereo field
- Mute (M) — Silence the track
- Solo (S) — Listen to only this track
A master strip is also available for the main output level.
The fader row is resizable — drag the top edge to make it taller or shorter.
Toggle Rail
A toggle rail along the side of the mini mixer shows or hides its rows — I/O routing and sends among them — the same way the Mixer View does. Keep the view compact or expand it for more detail.
Drag and Drop
- Drag audio files from the Media Explorer onto a clip slot to import them
- Drag plugins onto a track header to add effects
Multi-Sample Drag and Drop
Select multiple samples in the Media Explorer (Shift-click to extend, Cmd-click / Ctrl-click to toggle) and drag them into the grid:
- Drop on empty area — one new track is created per sample, with each clip placed in a separate scene row so the samples stack vertically down the grid.
- Drop on an existing track — clips stack down consecutive scene slots on that track, starting from the drop target.
Adding Clips
- Drag and drop audio or MIDI files from the Media Explorer onto an empty clip slot
- Record into the arrangement and move clips to the session grid
Note
Clip launching quantize and follow-action settings are configured in the Clip Inspector.