Macros
Macros are user-defined control knobs that provide quick, unified access to multiple device parameters.
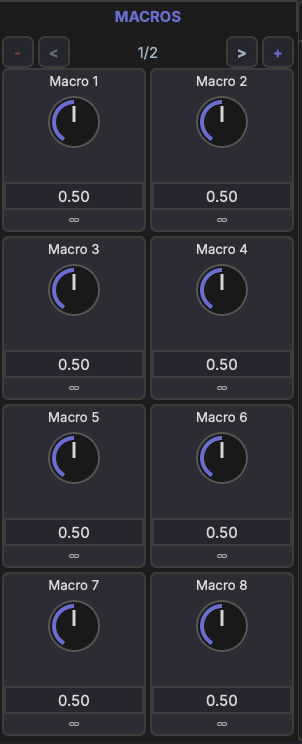
Layout
Each track has 16 macro knobs organized across 2 pages (8 knobs per page). Macros are visible in the track's device chain and in the Inspector when the track is selected.
Range
All macro knobs output a normalized 0–1 range. The mapping to each target parameter's actual range is handled by the modulation link (see Linking Parameters).
Naming
- Double-click a macro's name label to rename it (e.g., "Filter Cutoff", "Drive Amount"). A single click opens the macro editor instead.
- You can rename from either the name label on the knob or the header of the macro editor panel.
- Names are displayed on the knob and in the modulation matrix
Assigning Parameters
To connect a macro to a parameter:
- Enter link mode (see Linking Parameters)
- Select the macro as the modulation source
- Click the target parameter
- Adjust the modulation amount and polarity
A single macro can control multiple parameters simultaneously — for example, one "Brightness" knob could increase filter cutoff, reduce reverb wet, and boost high-shelf EQ gain at the same time.
Driving Modulators
A macro can also target a modulator's Rate instead of a device parameter — turn the macro and you turn the LFO speed. Same workflow:
- Right-click the macro and pick the modulator from Link to Parameter… → Modulators, or
- Use link mode and click the modulator's Rate slider as the target.
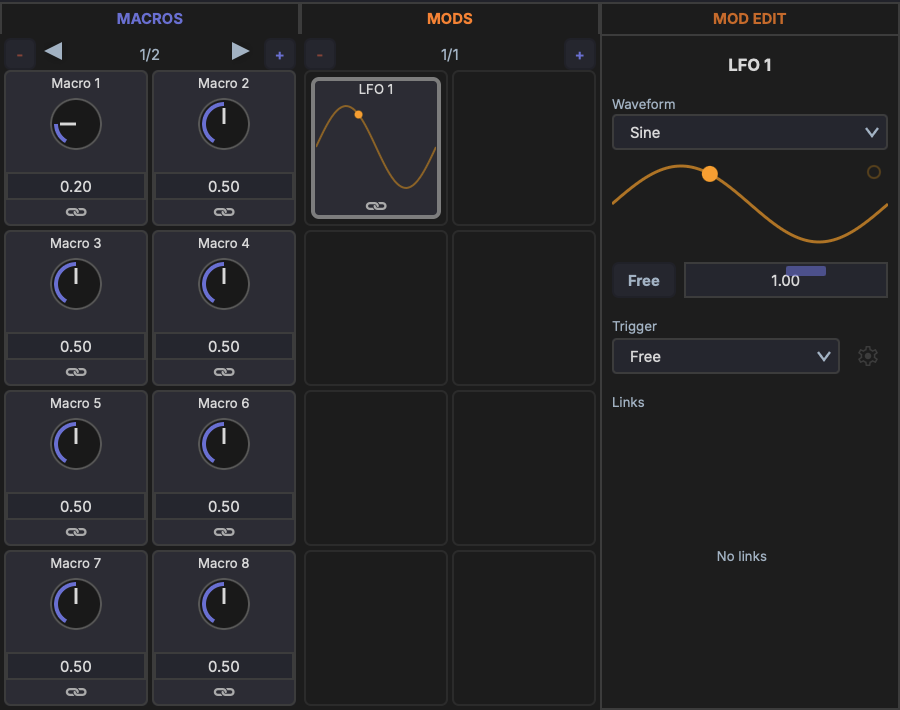
In the screenshot, Macro 1 at 0.20 is dialling LFO 1's Rate down. As the macro turns, the LFO speed follows. Combine with traditional parameter links and a single knob can sweep filter cutoff, reduce reverb send, and slow the LFO that's wobbling the pitch — all at once.
Use Cases
- Map the most important synth parameters to a few knobs for live performance
- Create unified controls that coordinate multiple effects at once
- Expose simple controls for complex multi-device setups
- Use a macro as a "tempo" or "intensity" control that drives an LFO's rate alongside the parameters it modulates